

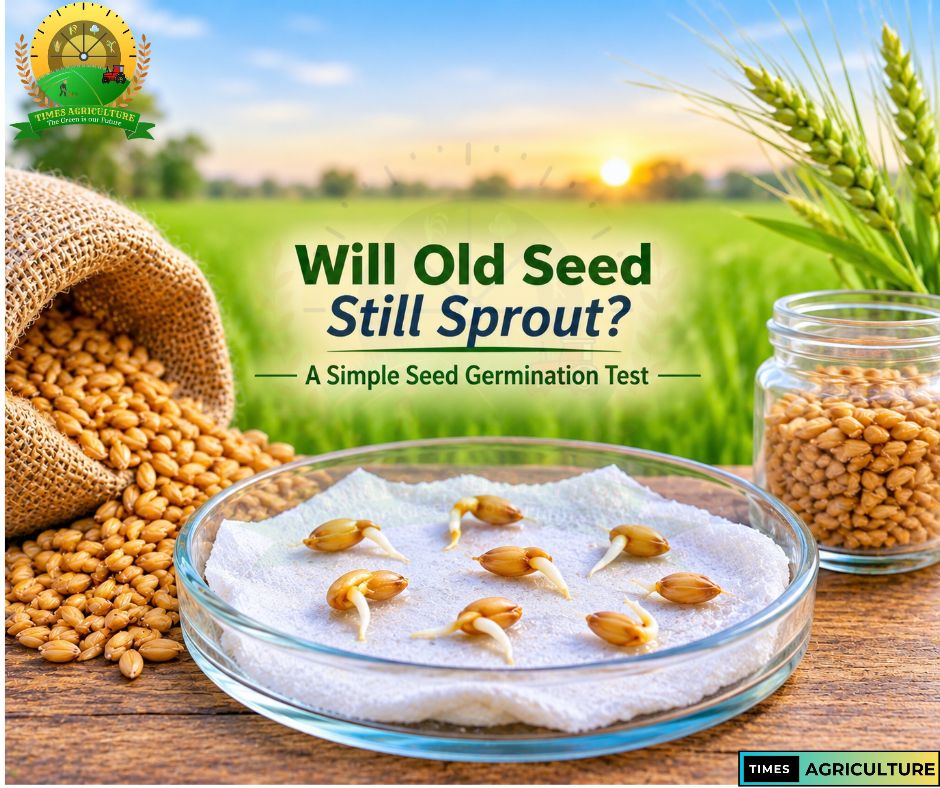
Seed that looks healthy in a bag may still produce a thin, uneven crop. Germination can decline during storage, especially when seed is exposed to heat, moisture or fluctuating conditions. A simple seed germination test gives growers a useful estimate of how many seeds are likely to produce seedlings before they commit land, labour, trays, fertiliser and irrigation water.
The test is especially useful for carry-over seed, farm-saved seed, opened packets and seed lots with uncertain storage histories. It is a screening tool, not a substitute for an official seed laboratory test or a guarantee of field emergence. Crop species, dormancy, seed treatment and temperature all affect the result.
When should you test a seed lot?
Test seed before sowing when the lot has been stored from a previous season, when the packet has been opened, when storage conditions were hot or humid, or when seed quality is uncertain. It is also useful when comparing two lots of the same crop or checking whether poor nursery emergence is likely to be seed-related.
Take a sample from different parts of the container or bag rather than choosing only the largest, cleanest-looking seeds. Include small, discoloured and damaged seeds if they are part of the lot you intend to plant. Selecting only attractive seeds can make the test look better than the actual batch.
Materials needed for a paper-towel test
- 50 or 100 seeds selected at random from the seed lot
- Two clean paper towels or unprinted absorbent sheets
- Clean water and a spray bottle or clean cup
- A sealable food bag or clean covered container
- A marker and a notebook for the crop, variety, lot and test date
Use separate, labelled containers for different varieties or seed lots. Wash your hands and use clean materials so that mould or contamination does not distort the result.
How to conduct a seed germination test step by step
- Take a representative sample. Mix the seed lot gently and select seeds from several locations. Do not remove imperfect seeds unless you would also remove them before planting.
- Count the seeds. Use 100 seeds when the quantity allows. A 100-seed sample makes the percentage easy to read. If seed is scarce, use 50 or 20, but recognise that a small sample gives a less precise estimate.
- Moisten the towel. Wet the paper evenly with clean water, then drain or squeeze away excess. It should feel damp throughout, not drip when lifted. Saturated conditions reduce oxygen and encourage mould.
- Arrange the seeds. Space seeds in rows on the towel so that emerging roots can be counted and individual seedlings are less likely to tangle. Cover with a second damp towel or fold the first towel over them.
- Enclose and label. Roll or fold the towel, place it in a sealable bag or covered container, and write the crop, variety, lot and start date on the label. Leave enough air space and avoid crushing the seeds.
- Keep at a suitable temperature. Place the test in a clean location that matches the crop’s recommended germination conditions. Do not assume one room temperature suits every crop. Check the seed packet or a crop-specific extension or seed-testing guide for temperature and test duration.
- Check daily. Keep the towel moist but not waterlogged. Note the first emergence, remove any clearly rotted seed if it is spreading mould, and avoid repeatedly handling healthy seedlings.
- Count normal seedlings at the correct time. At the crop-appropriate final count, record seedlings with healthy essential structures. A split seed coat or a tiny radicle alone does not necessarily mean the seed will produce a normal plant.
Calculate the germination percentage
Use this formula:
Germination percentage = (number of normal seedlings ÷ total seeds tested) × 100
For example, if 86 normal seedlings develop from 100 seeds, the observed germination is 86%. If 43 normal seedlings develop from 50 seeds, the result is also 86%.
Record abnormal seedlings, dead seeds, hard seeds and seeds that have not germinated separately where possible. Do not count every swollen seed or visible root as a normal seedling. The aim is to estimate the proportion likely to establish a usable plant, not simply the number that began to sprout.
How long does the test take?
There is no single timetable for all crops. Some vegetable seeds begin germinating within a few days, while cereals and grasses may need longer and some species require specific pre-treatments. University of Maine Cooperative Extension describes a simple small-grain towel test using about seven days for barley and around ten days for oats or rye. Iowa State University’s Seed Laboratory notes that official test periods vary by species, typically from 7 to 28 days.
Use the crop-specific period rather than stopping as soon as the first few seeds sprout. For official certification, seed labelling or disputes over seed quality, use a recognised laboratory and the applicable ISTA or AOSA procedure.
What does a low result mean?
A low result may indicate ageing, poor storage, mechanical damage, immature seed, disease, or unsuitable test conditions. It does not automatically prove that every ungerminated seed is dead. Some crops have hard seed coats or dormancy that delays germination; species-specific pre-chilling, scarification or other approved treatments may be needed for a valid assessment.
If the result is unexpectedly poor, repeat the test with a fresh representative sample and check the temperature, moisture and duration. If the repeat remains low, consider sending a sample to an accredited seed laboratory, particularly for valuable or large-scale planting.
Can you adjust the seeding rate?
A germination result can inform a planting-rate decision, but do not increase the rate automatically using one universal threshold. First check whether the recommended seed rate already assumes a certified minimum germination, a particular seed size, seed purity or an expected field establishment percentage.
Where a recommendation is explicitly based on fully viable seed, a simple first calculation is:
Adjusted rate = reference rate ÷ germination fraction
For example, if a reference rate is 20 kg/ha and the relevant baseline assumes 100% germination, a test result of 80% gives 20 ÷ 0.80 = 25 kg/ha. This is only a mathematical correction for laboratory germination. It does not account for field emergence, seed size, purity, planting depth, soil crusting, pests or seedling mortality. If the reference rate already incorporates a standard germination percentage, adjust relative to that standard instead of dividing twice.
For precision, use seeds per square metre or target plants per hectare, thousand-seed weight, seed purity, laboratory germination and a locally realistic field-emergence estimate. Follow local crop recommendations and avoid excessive seed rates that can increase competition, lodging or seed costs.
Why laboratory germination and field emergence differ
A paper-towel test gives seeds moisture and a relatively controlled environment. A field presents changing soil temperature, uneven moisture, oxygen limitations, crusting, salinity, pathogens, insects and variable sowing depth. Seedlings that appear normal in a towel may still fail to emerge through a compacted or dry seedbed.
For high-value seed lots or crops where establishment is critical, ask a recognised laboratory about standard germination and, where appropriate, vigour tests. Iowa State University explains that standard testing evaluates normal seedlings under controlled conditions and uses species-specific substrates and temperatures. A vigour or cold test may provide additional information about performance under less favourable conditions.
Keep seed quality high between seasons
- Store seed in a cool, dry and stable environment, following the supplier’s crop-specific instructions.
- Keep bags sealed and protected from rain, floor moisture, direct sunlight and pests.
- Label every lot with crop, variety, source and purchase or harvest date.
- Keep older lots separate and test them before mixing with fresh seed.
- Do not store seed while it is damp or warm from drying; allow it to reach safe storage conditions first.
- Follow label directions for treated seed, and never store seed in food containers.
Common mistakes that make results unreliable
Testing only a handful of the largest seeds, allowing towels to dry, soaking seeds in standing water, placing different crops together without labels, using unsuitable temperatures, and counting abnormal seedlings as successful all distort the result. Another common mistake is treating a quick float test as a reliable replacement for germination testing. Floating or sinking may reflect seed density, air spaces or species characteristics; it does not consistently predict whether a seed will produce a normal seedling.
Conclusion
A simple seed germination test can prevent costly surprises before planting. Use a representative sample, maintain suitable moisture and crop-specific conditions, count normal seedlings and record the result. Treat the percentage as a planning estimate—not a promise of field establishment—and seek laboratory advice when seed quality is uncertain or the planting decision carries significant financial risk.